![]()
![]()
![]()
![]()

![]()
![]()
![]()
![]()
![]()
![]()
![]()
![]()
![]()
![]()
![]()
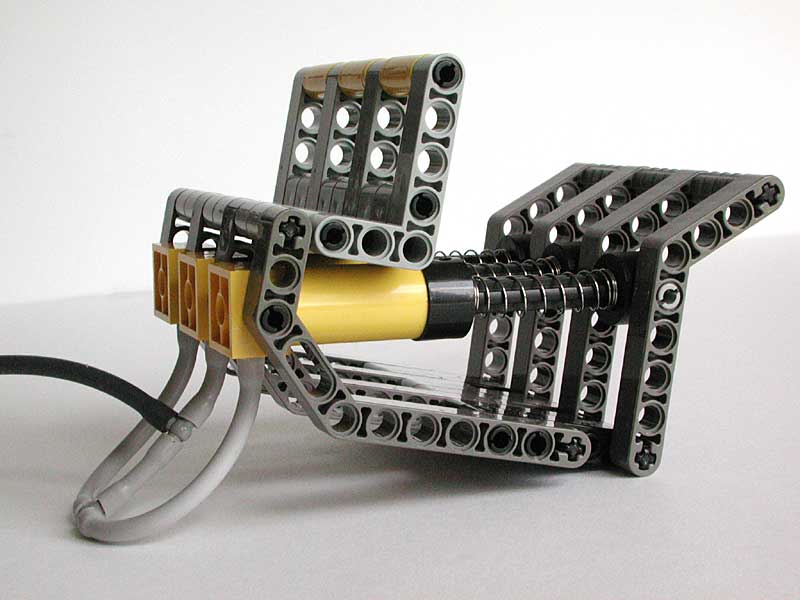
- a piston is pressurized and contract.
- this contraction causes an arm to pull out the wheel. This arm pushes on ground and make the wheel tilt and advance.
- is also flips the pneumatic switch that controls the contraction of the next piston and expansion of the previous one.
- PDF, high resolution (5.3MB)
- PDF, low resolution (2.3MB)
- MPD LDraw file (without tubing)
- MPD LDraw file (with tubing).
- PDF, high resolution (950kB)
- PDF, low resolution (430kB)
- MPD LDraw file (without tubing)
- MPD LDraw file (with tubing)
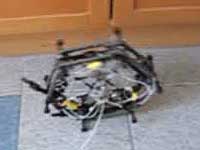
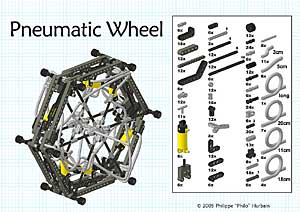
Pneumatic Wheel
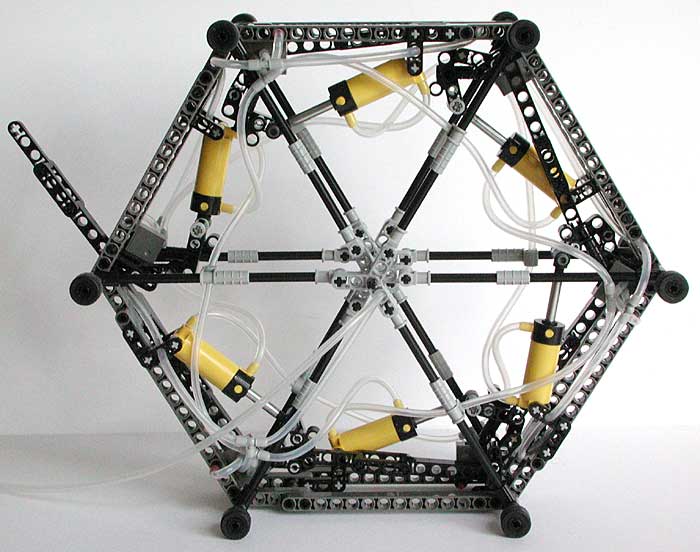
Very impressed by Kevin Clague pneumatic creations, I wanted to build some nice pneumatic sequencer gizmo. Unfortunately my pneumatic collection is more restricted than Kevin's, but with a little thinking I came up with this pneumatic actuated wheel that uses just 6 pistons and 6 switches (many Kevin's designs use LOTS of pneumatic switches...).
The principle is simple:
Construction details
|
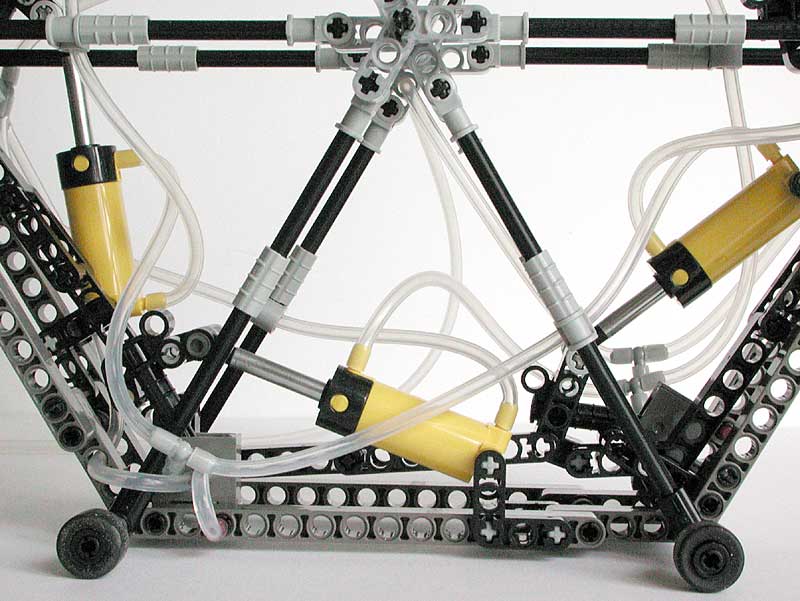
The wheel is composed of 6 almost identical modules (3 are mirrors of the three other for a more compact assembly). Each module has a piston, a pneumatic switch and an arm. |
|
Tubing schematics. |
|
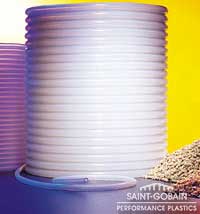
Though the pneumatic wheel uses few pneumatic parts, it requires a good length of tubing (about 6 m). Fortunately, sometime ago I bought Versilic silicone tubing, 4mm external diameter, 2mm internal. Though primarily intended for medical use, it is very similar to LEGO tubing (translucent clear). I got a 25 meter pack for 28. Compared to LEGO pneumatic hose, it is a little more flexible (it is slightly easier to get crushed on sharp turns) and the material is somewhat more sticky, gathering dust. Google "Versilic" to find resellers near you... |
|
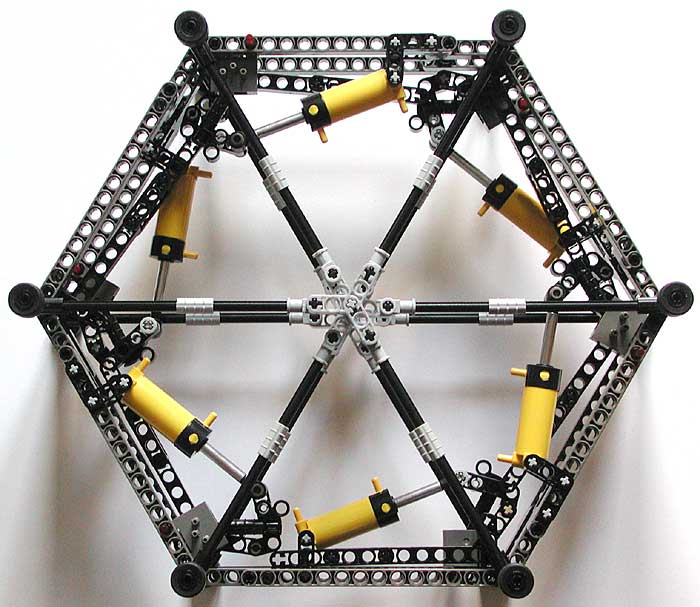
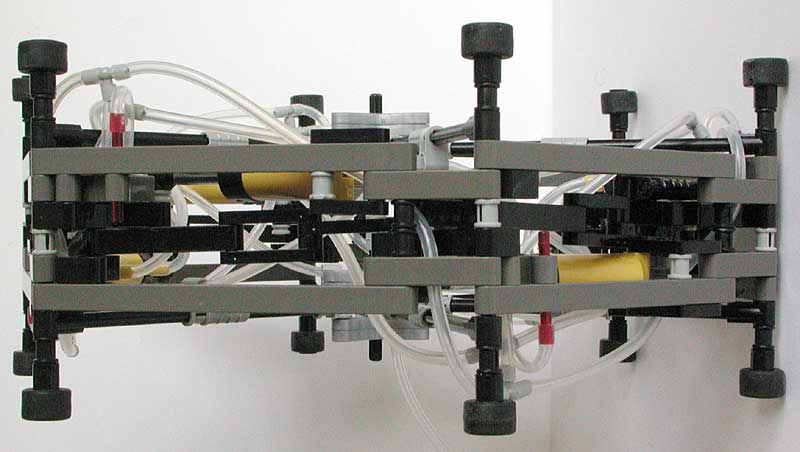
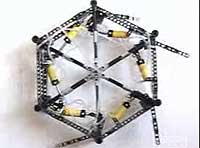
The wheel without pneumatic tubing. Axles link modules together, rubber tires are added on both end of these axles to widen the wheel and increase stability, and to prevent scratches on parts. |
|
Caution: before starting the wheel, make sure that one arm is unfolded. If no arm is out, the air can't escape and as you build pressure one tube somewhere will pop out... |
|
Top view. |
|
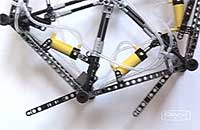
Detail of an assembled section. |
|
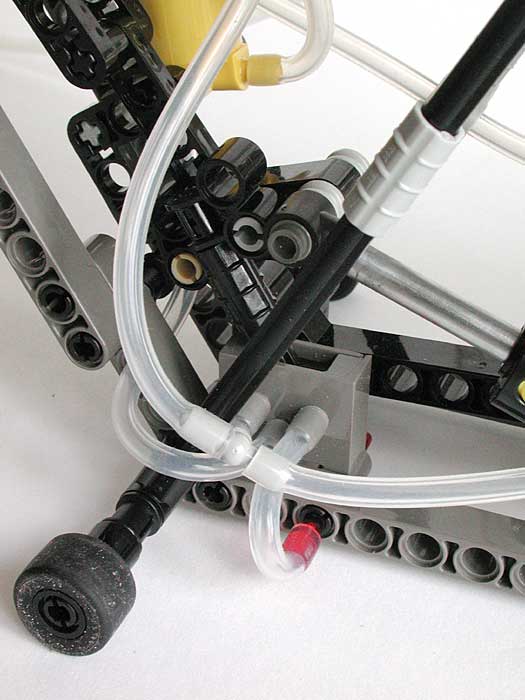
Detail of a switch tubing. As the expanded port of the switch is not used, a light saber blade plugs the switch output to prevent air leak. Caution: take care not to stick in the light saber blade too much, the arm movement would be blocked. |
|
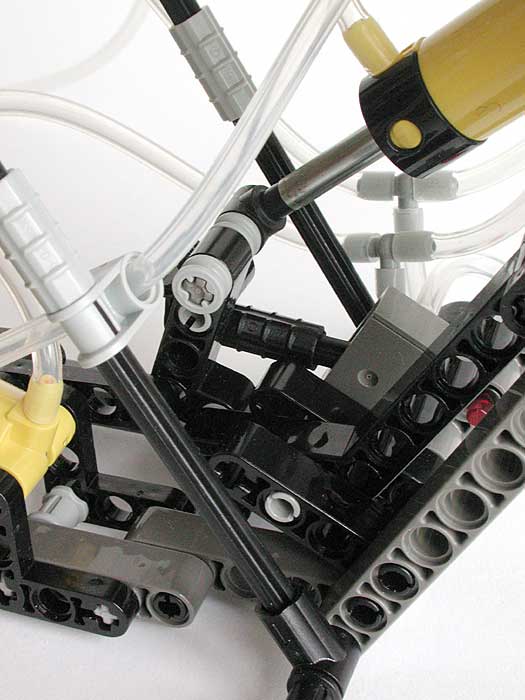
Detail of the piston to switch linkage. |
|
Video of the wheel rolling (Divx5, 350k) |
|
Video the wheel laying on side to show arms movement (Divx5, 250k) |
|
Video of a section of the wheel (Divx5, 300k) |

|
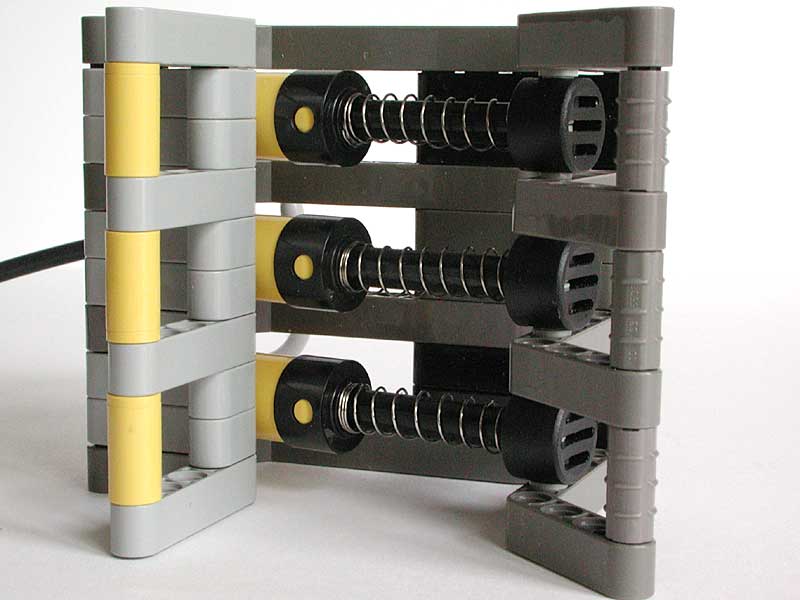
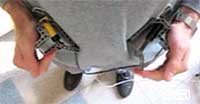
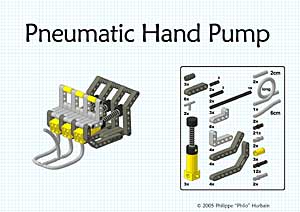
To move the wheel, I needed a good source of pressured air. I first considered using a motorized compressor, but finally settled on a manual one - actually I built two, one for each hand. A relatively ergonomic shape allows sustained pumping... |
|
Top view. The design can be upgraded to 4 pumps if you have bigger, stronger hands than mine... |
|
Video of pumps usage (Divx5, 200k) |
Building instructions
|
Pneumatic Wheel |
|
Pneumatic Hand Pump |
|
![]()
![]()
![]()
![]()
![]()
![]()
![]()
![]()
![]()
![]()
![]()
![]()
![]()
![]()
![]()