![]()
![]()
![]()
![]()

Tower
Crane
I never had the opportunity to build a tower crane, despite my fascination for these wonderful machines. I started the construction of this crane because, as a new block of flats was being erected in my neighborhood, I had a model to get inspiration from... and mainly because I received from LEGO early samples of the new motors that are to be available late 2007: a tower crane seemed a perfect project to exercise these motors in real use.
Thanks to their multichannel infrared remote control, the Power Functions™ motors were perfect for this creation. All motorization can be installed on the rotating boom with easy control through the remote. One channel of the IR remote controls lift and trolley travel, another controls boom rotation and headlights.
For more details and photographs of Power Functions elements, see Mark Bellis' Brickshelf gallery
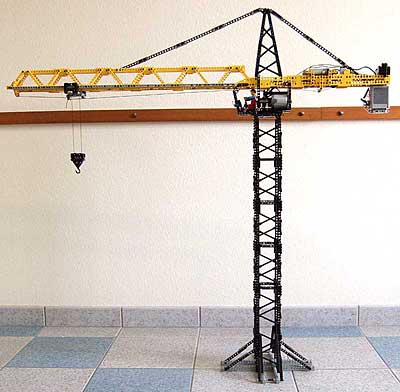
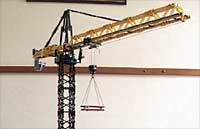
The height of the crane as well as its span are 1.20m. |
|
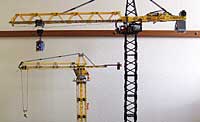
The tower crane and its LEGO City smaller sibling. |
|
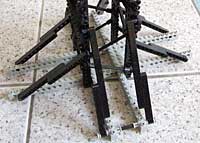
The tower base ensure a minimum stability of the crane. Since the crane was to be carried in a plane luggage, the base can be easily separated from the rest of the crane. |
|
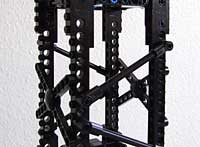
Detail of the tower structure. On stud side, crosses built from 5M thin beams linked by round bottom plate provide bracing. 8M axles are used in the other direction. Moreover, an horizontal link is done at the end of each L16 Technic brick. |
|
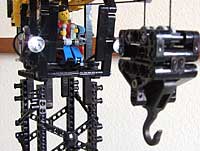
Operator cabin, also shows lit headlight (white LEDs I grafted on IR-receiver output) |
|
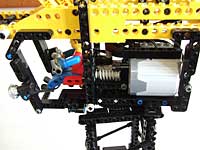
At the top of the tower is the boom turntable, powered by a XL size Power Functions motor. This motor, as well as IR receiver, are located at the rear of operator cabin. The high torque delivered by this motor is useful to overcome the high friction of the turntable (I had to lubricate the turntable with a small drop of silicon grease to get smooth rotation of the boom). |
|
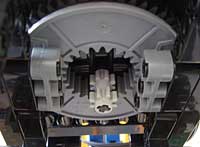
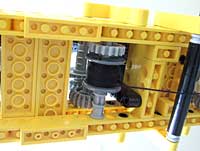
Bottom of the turntable. I drove the turntable from internal gear, that was an error since a high torque is needed. So high that I broke a 8 teeth gear, hence the spare part I added here below... I should have used external gear to get a 1:7 final gearing instead of a 1:3 one. |
|
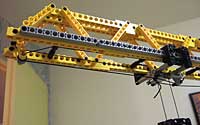
Tip of the boom, also shows the trolley. The boom triangular shape is approximated by the stack of parts widening towards bottom. |
|
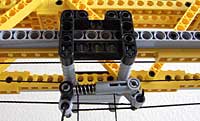
The trolley simply slides on the grey studless beams. Adding wheels would have make it too big. The shock absorber maintains the tension of the cable moving the trolley. Notice how the cable ends are crossed to compress the shock absorber. |
|
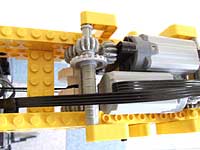
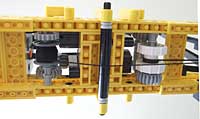
Trolley motor and drum. Three turns of cable are wound around the drum. |
|
Synoptic of crane cables. |
|
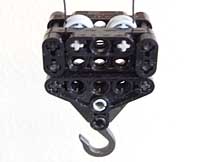
Detail of the hook. |
|
Hook hoist. |
|
Lift hoist and trolley drum. |
|
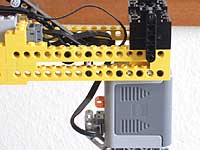
The battery pack is used as a counterweight. Since its weight was not quite sufficient, I added two train weights on top. |
|
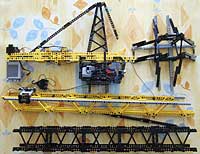
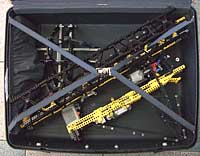
As I had to travel by plane with the crane, I built it modular. |
|
The crane fitted in my luggage. There is even some room remaining for my toothbrush! |
|
Short movie, showing the crane in action (AVI, DivX 5 codec) |
![]()

![]()
![]()
![]()
